
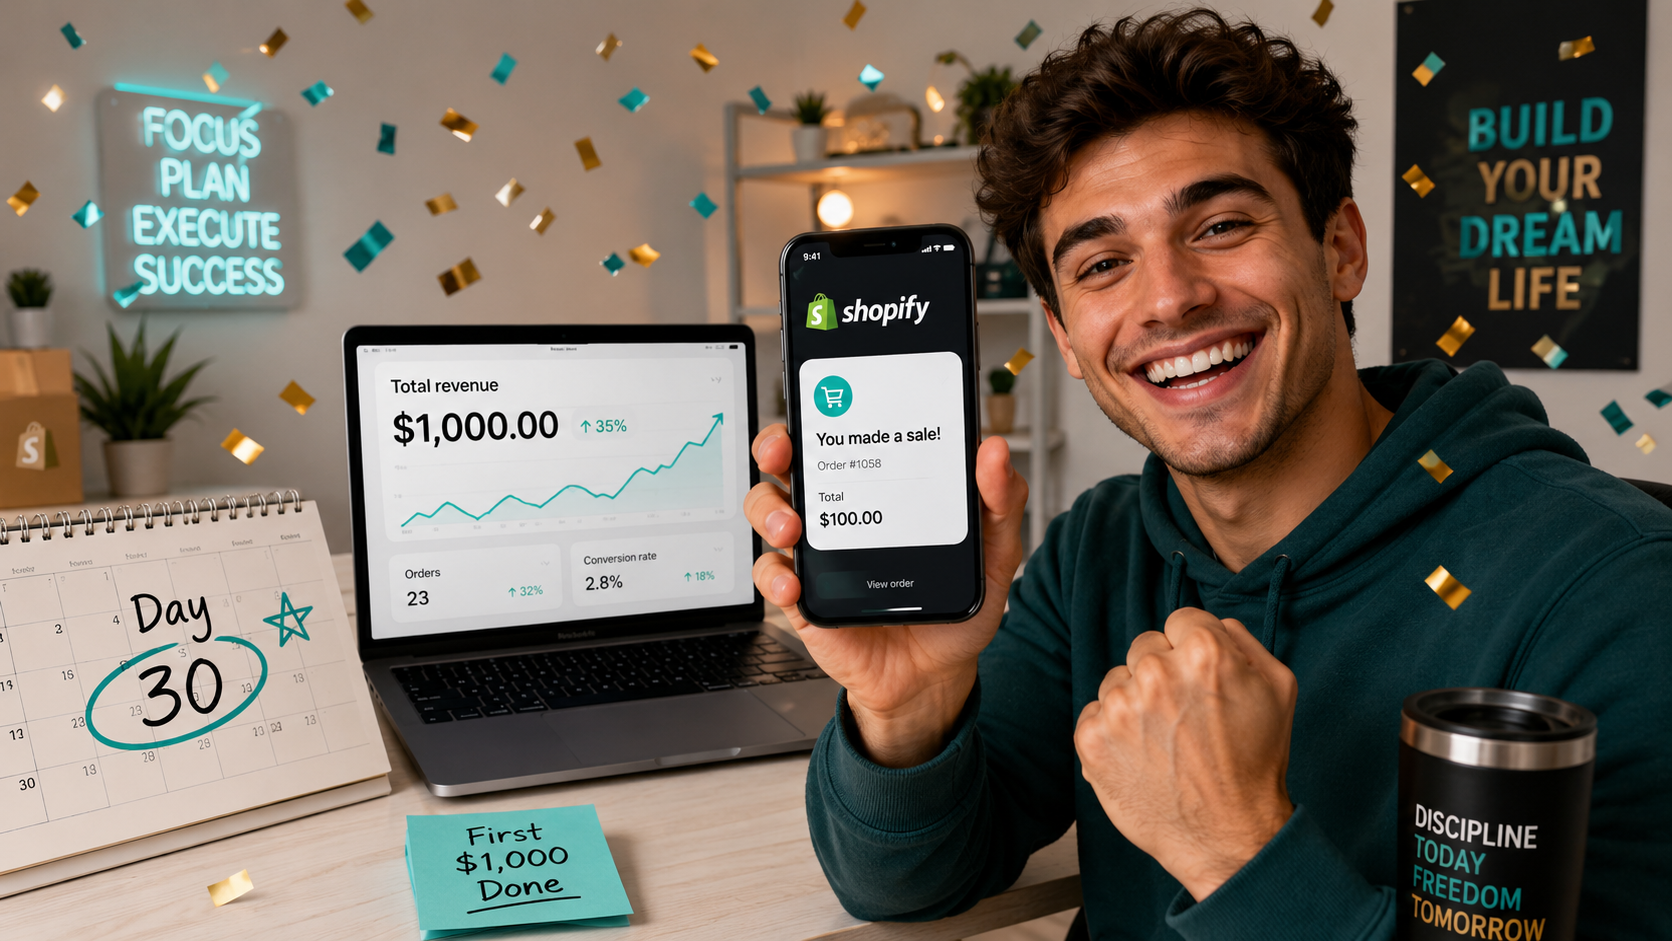
How to Make Your First $1,000 on Shopify in 30 Days (The Exact Steps)
Most people who start a Shopify store never make $1,000. Not because the platform does not work, not because their product is bad, and not because ecommerce is too competitive. They fail because they spend the first 30 days building and zero days selling.
They perfect their logo. They agonize over theme colors. They write and rewrite their about page. They add and remove apps. They stare at their store analytics showing zero visitors and wonder what they are doing wrong — not realizing the answer is that they have done nothing to bring anyone to the store yet.
This guide is about doing things differently. It is built around a simple premise: a complete stranger can realistically generate their first $1,000 in Shopify revenue within 30 days if they spend their time in exactly the right order, on exactly the right actions. Not perfecting. Selling.
Everything in this guide has been validated by real merchants who made their first sales using these approaches in 2026. The sequence matters as much as the actions themselves. Follow it in order.
Before Day One: The Mindset Shift That Changes Everything
The most important reframe for a new Shopify merchant is understanding the difference between working on your store and working on your sales.
Working on your store means customizing your theme, adjusting your font size, adding a new section to your homepage, and installing another app to see if it improves something. It feels productive because there is visible output. But none of it generates revenue until a customer arrives.
Working on your sales means creating content, reaching out to potential customers, promoting your products, sending emails, and putting your store in front of people who might buy. It often feels uncomfortable — especially for new merchants who worry their store is not ready — but it is the only activity that produces the revenue you are working toward.
The $1,000 goal is achievable in 30 days if you spend approximately 70% of your time working on sales and 30% working on your store. Most new merchants do this in reverse and wonder why they have not made any money after a month of effort.
With that established, here is exactly what to do.
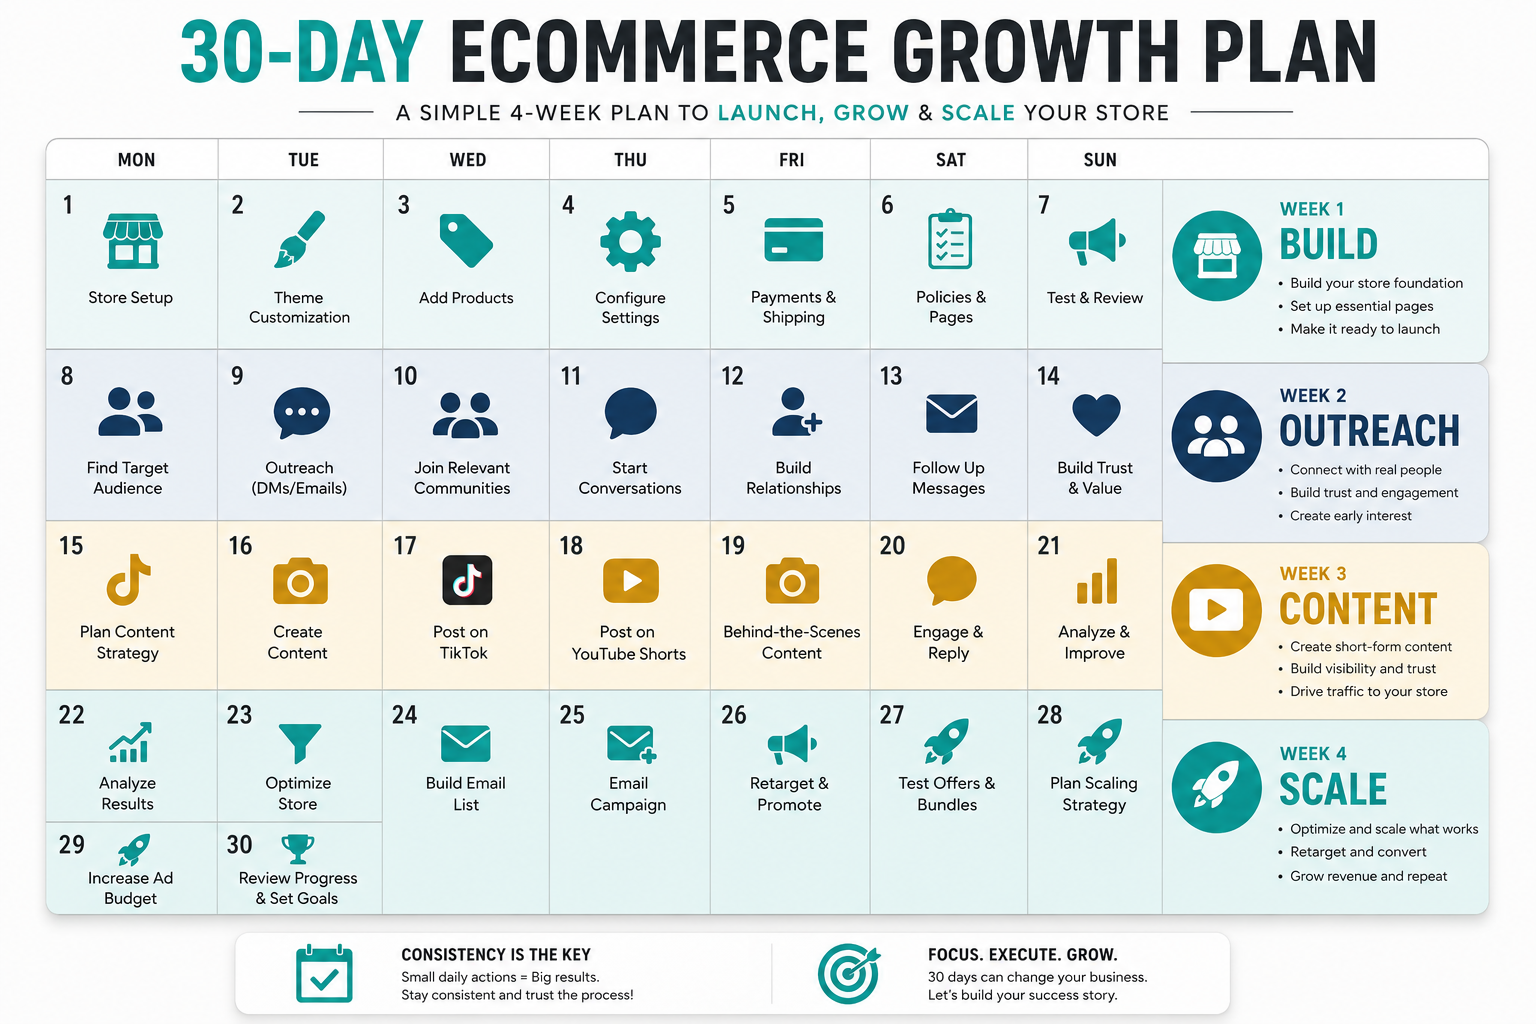
Days 1 to 5: Launch a Store That Is Good Enough to Sell
The phrase "good enough to sell" is intentional. Your store does not need to be perfect. It needs to be trustworthy, fast, and functional. That standard is achievable in five days without design experience, coding knowledge, or a large budget.
Day 1: Set Up Your Shopify Account and Choose Your Niche
Start your Shopify free trial at shopify.com. The Basic plan at $39 per month is sufficient for everything you need in your first 30 days. Do not start on the Advanced plan — you do not yet know whether the business will generate revenue, and keeping your costs low in month one gives you more runway to experiment.
Before choosing what to sell, spend two hours on niche validation. Open Google Trends and search your product idea. Is interest growing, stable, or declining over the past two years? Growing or stable is the signal you need. Declining means you are entering a shrinking market regardless of how good your product is.
Then search the same product on TikTok. Sort by "Latest" and look at the view counts on recent product videos. If recent TikTok content about your product category is generating 10,000 or more views regularly, there is active consumer interest that you can tap into with organic content.
Finally check Amazon's best seller rank for the category. A product in the top 1,000 BSR in its category is selling consistently — which validates demand. A product with no BSR or a rank above 500,000 has weak demand regardless of how much you like it.
The niche categories with the strongest performance for new Shopify stores in 2026 are health and beauty, home goods and décor, pet products, fitness accessories, and fashion accessories. Within each of those categories, specificity beats generality — "supplements for women over 40" outperforms "supplements" as a starting position for a new store.
Day 2: Install a Free Theme and Configure the Essentials
Shopify's free Dawn theme is the best starting point for a new store in 2026. It is fast, mobile-optimized, and has been refined by Shopify's design team to convert well without any customization. Do not spend money on a premium theme in your first month. Dawn is what you need.
Customize only the elements that directly affect trust and conversion: your store name in the header, a simple logo or text-based brand name, your primary color, and your font. Set your homepage hero image to a clean product shot and write a two-sentence value proposition that tells a visitor exactly what you sell and who it is for.
Set up Shopify Payments under Settings so you can accept credit cards, Apple Pay, and Google Pay from day one. Enable guest checkout under Settings so customers can purchase without creating an account — forced account creation causes between 20 and 25% of checkout abandonments.
Go to Settings, then Legal, and generate your Privacy Policy, Terms of Service, and Return Policy pages using Shopify's built-in generator. Customize them with your return window — 30 days is the standard that converts best — and your business details. Place links to all three in your footer. These pages tell customers that a real, legitimate business is behind the store.
Day 3: Add Your First Three to Five Products
You do not need 50 products. You need three to five products that are focused, relevant to your niche, and described in a way that makes buying feel obvious.
For each product, write a description that opens with the benefit — what this product does for the customer — before the feature — what the product is made of or how it works. Use Shopify Magic to generate a first draft and then edit it to match your brand voice and add any specific details Magic does not have access to. The AI draft saves you the blank page problem; your editing makes it specific and authentic.
Upload at least four images for each product: the product on a clean background, the product from a different angle, the product in use, and a close-up of the key detail or material. If you are dropshipping, request product samples from your supplier and photograph them yourself — supplier stock photography is used by hundreds of competing stores and does nothing to differentiate your brand.
Set your prices intentionally. Look at three to five competitors selling the same or similar products and set your price within 10 to 15% of the market midpoint. Do not compete on price as a new store — you cannot win a price war against established competitors with larger margins. Price at parity and compete on presentation and customer experience instead.
Days 4 and 5: Configure Shipping, Apps, and Your Launch Email Popup
Set up your shipping zones under Settings. For domestic shipping, offer free shipping above a threshold — typically $5 to $10 above your average order value — which incentivizes customers to add more to their cart while keeping your fulfillment economics positive.
Install only the apps you actually need to sell: a review app to collect and display product reviews (Judge.me has a free tier), an email marketing app to capture and email subscribers (Klaviyo's free plan covers your first 250 contacts), and a popup app to capture emails with a launch discount (Privy or Klaviyo's built-in popup). Three apps maximum. Every additional app adds JavaScript to your store and slows your page speed.
Set up a popup that offers 10 to 15% off a first order in exchange for an email address. This popup serves two purposes simultaneously: it gives visitors a reason to buy on their first visit, and it builds the email list you will use to generate repeat revenue after the first 30 days.
Days 6 to 10: Get Your First Visitors From Your Warm Network
Your store is live. Now the question is: who is going to buy from you first?
The answer, for almost every successful Shopify launch, is people who already know and trust you.
Day 6: Tell Everyone You Know
Send a personal message — not a mass email, an individual message — to every person in your phone contacts, your social media followers, and your professional network who might have even a passing interest in what you sell. Keep the message personal and brief.
Something like: "Hey, I just launched a store selling [product] for [who it helps]. I would love for you to check it out — here is the link. And if you know anyone who might be interested, I would genuinely appreciate you passing it along." Add your launch discount code.
This feels uncomfortable for most people. Do it anyway. Every successful Shopify merchant who documented their first-month journey cites personal outreach to their existing network as the source of their first sales. Not ads. Not TikTok. Their friends.
Days 7 to 10: Post in Relevant Facebook Groups and Reddit Communities
Identify five to ten Facebook Groups and two to three Reddit communities where your ideal customer spends time. Search for groups related to your product category — if you sell pet products, look for dog owner groups, specific breed communities, and pet care communities with active daily posting.
Read the group rules before posting. Most groups allow introductory posts from new members and some allow promotional posts on specific days. Follow the rules exactly — getting banned from a high-quality group in your first week eliminates a valuable free traffic source.
Your post should not read like an advertisement. It should read like a genuine introduction: "I just launched a store selling [product] because I personally struggled with [problem] and could not find a solution I was happy with. Here is what I built — I would love honest feedback from people who know this space." Include your URL and your launch discount code.
The response rate on these posts varies widely depending on the group and the product. Even a single viral comment thread in the right community can generate your first ten to twenty sales.
Days 11 to 20: Build Organic Traffic With TikTok Content
By day ten, you should have your first one to three sales from your warm network and community outreach. Now you need a sustainable traffic source that scales without a per-click cost — and in 2026, TikTok organic is the most powerful free traffic channel available to Shopify merchants.
Days 11 to 13: Create Your TikTok Business Account and First Three Videos
Create a TikTok Business account using your store name and write a bio that clearly explains what you sell and who it is for. Link your Shopify store in the bio.
Your first three videos should each follow this format: hook in the first two seconds that addresses a problem your customer has, demonstration of your product solving that problem, and a clear call to action at the end — "Link in bio" or "Shop now."
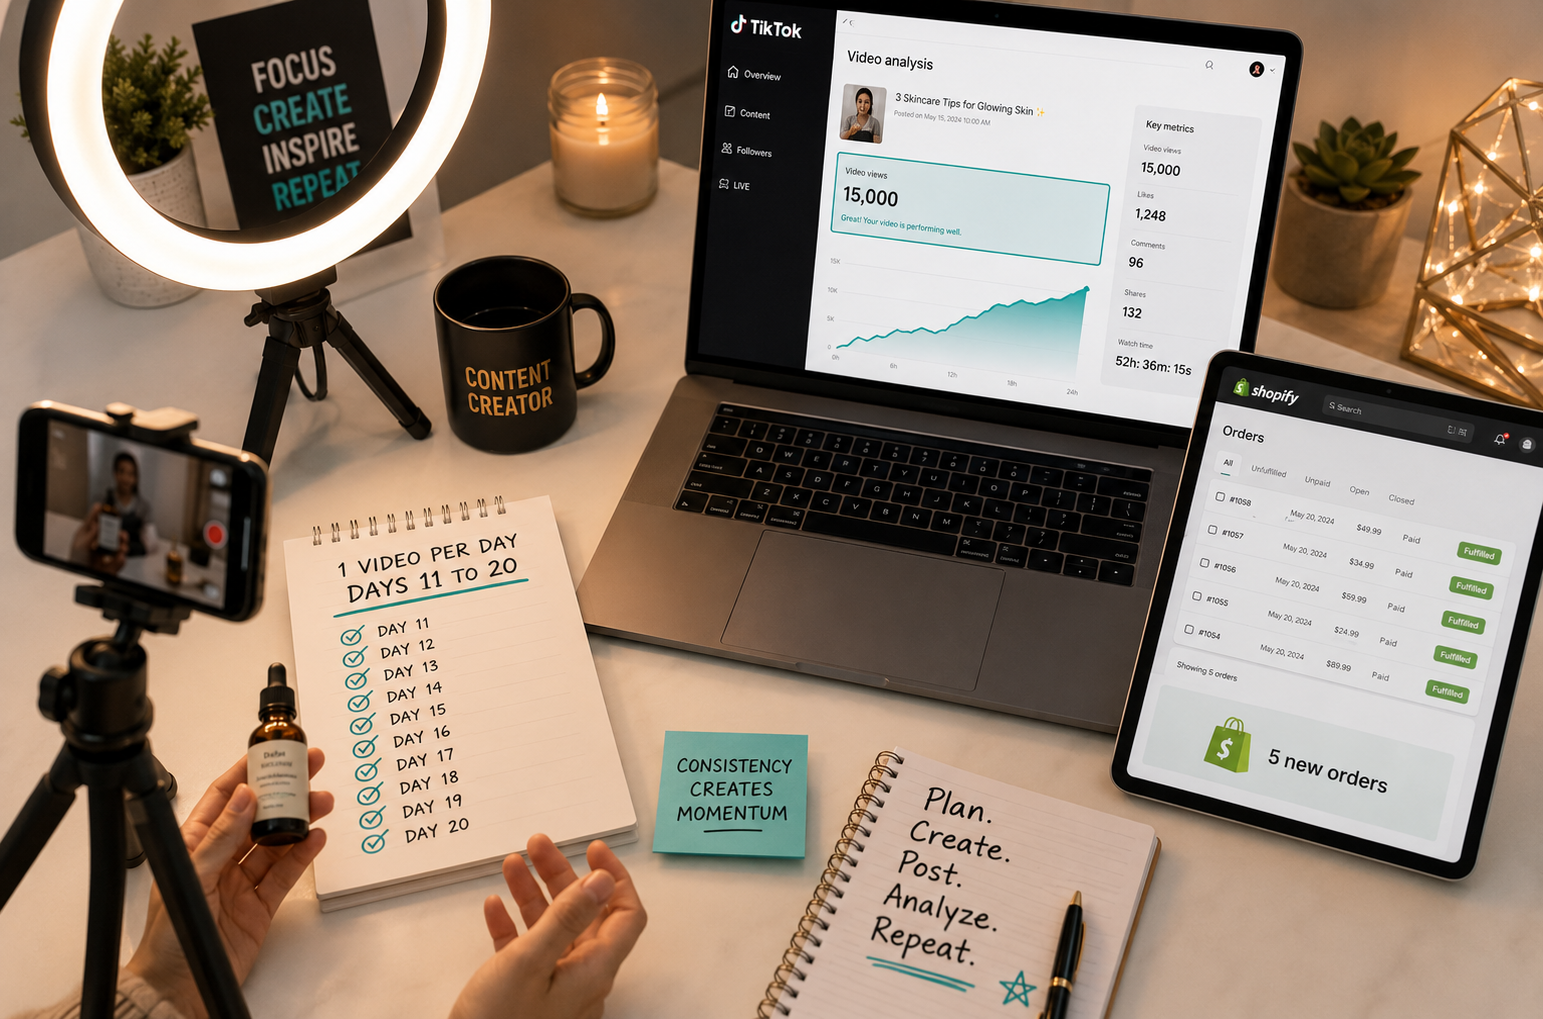
The production requirements are minimal. A ring light ($15 to $30 on Amazon), your smartphone, and a clean background are sufficient. TikTok's algorithm rewards consistency, authenticity, and retention — not production value. A shaky video of you genuinely demonstrating something useful outperforms a professionally produced ad that feels like marketing.
Days 14 to 20: Post Once Per Day and Study What Works
Commit to one video per day for the next seven days. This is the volume required to give TikTok's algorithm enough content to identify your audience and begin distributing your content to people who are likely to engage with it.
After each video, check the analytics at the 24-hour mark. The metrics that matter are: average watch time percentage (above 50% is strong), comment count, and share count. Videos with high watch time percentage get pushed to a broader audience. Videos with high shares indicate the content is genuinely resonating rather than just being watched passively.
When a video outperforms the others — even modestly — make more videos in that exact format. Do not try to be creative with videos that are already working. Replicate them with different products, different angles, and different hooks, then let the algorithm tell you which variation performs best.
Days 21 to 25: Launch a Small Paid Ad Test
By day 21 you have collected data. You know which products are getting the most clicks from your warm network and community outreach. You know which TikTok content format generates the most engagement. Now you have enough information to invest a small ad budget without guessing.
Paid ads on a brand new store with no reviews and no social proof rarely produce profitable returns. But by day 21 you should have at least three to five reviews from early customers, proven product page copy that you know converts, and TikTok creative that you have already tested organically and seen perform.
Spend $10 to $20 per day on one of two approaches:
Approach one — TikTok Spark Ads: take your best-performing organic TikTok video and boost it as a Spark Ad targeting an interest-based audience that matches your customer profile. Spark Ads run your organic content as paid promotion, which means it carries the existing social proof — view count, likes, and comments — that new paid creative lacks.
Approach two — Meta Ads with UGC creative: run a single image or short video ad on Meta targeting a broad interest audience relevant to your product category. Use a real product photo or a short demonstration video rather than a designed graphic. Your budget for the first week is $100 to $150 total — enough to generate meaningful data without a significant financial risk on an untested audience.
Do not run ads to your homepage. Run them directly to the specific product page for the product you are advertising. Every navigation step between the ad and the product costs you conversions.
Days 26 to 30: Email Your List and Create Urgency
By day 26, every visitor who accepted your popup discount has been added to your Klaviyo list. Every customer who completed a purchase has been added. You now have a list — even if it is small — of people who have already demonstrated interest in what you sell.
Send three emails over the final five days:
Email one on day 26: a personal update from the founder. Tell the story of why you started the store, share what you have learned in the first month, and express genuine gratitude to everyone who has supported the launch. Include a link to your best-selling product. This email builds relationship rather than selling directly — which paradoxically generates more sales than a direct promotional email at this stage.
Email two on day 28: a product spotlight email featuring your best-selling product with customer reviews from your early buyers, a clear benefit-focused description, and a link directly to the product page. Include a time-limited offer — 15% off, free shipping, or a gift with purchase — that expires in 48 hours.
Email three on day 30: an urgency email. "Today is the last day to get [offer]." Short, direct, and single-purpose. One product, one offer, one link, one call to action. This email consistently drives a disproportionate percentage of email-attributed revenue because recipients who were on the fence about purchasing earlier in the sequence now have a clear deadline.
How to Calculate Whether You Are on Track
At the midpoint of your 30 days — around day 15 — do a quick progress check using these benchmarks:
You should have at least 200 total store visitors. If you are significantly below this, your traffic generation efforts need to accelerate — more TikTok content, more community outreach, or both.
You should have at least 3 to 5 sales. If you have more than 200 visitors but fewer than 3 sales, the problem is conversion rather than traffic — which points to your product page, your pricing, your trust signals, or your checkout setup. Go back to your product pages and check whether they include a clear benefit statement, reviews, a visible return policy, and an above-the-fold Add to Cart button.
You should have at least 50 email subscribers. If you have traffic but few subscribers, your popup is not triggering correctly or the discount offer is not compelling enough.
The $1,000 goal with a $50 average order value requires 20 sales. With a $25 average order value it requires 40 sales. Know your target sale count and track your daily progress toward it rather than watching the revenue number in isolation.
The Mistakes That Will Stop You From Hitting $1,000
Waiting until the store is perfect to start marketing. The store is never perfect. The customers who buy in your first week do not know what your store looked like before they arrived. Ship the minimum viable version and start generating traffic on day six.
Running paid ads before you have reviews. A new store with no social proof and paid traffic is the most expensive way to discover that your product page does not convert. Get your first ten reviews from organic channels before spending significant money on ads.
Trying to be on every social platform simultaneously. Pick one — TikTok for most product categories in 2026 — and commit to it for the first 30 days. Spreading thin effort across Instagram, Pinterest, Facebook, and TikTok generates mediocre results on all of them. Deep effort on one generates momentum on that one, which you can replicate to others later.
Installing too many apps. Every app you install that does not directly generate revenue or prevent a sale is slowing your store and costing you money. In your first 30 days, the only apps you need are an email platform, a review app, and a popup tool. Everything else is a distraction.
Giving up after a slow week. The first two weeks of a new Shopify store are almost always slow. Every successful merchant you see posting their revenue screenshots started with days of zero sales. The difference between stores that generate $1,000 in their first month and ones that never make a sale is not luck — it is the decision to keep sending messages, posting content, and driving traffic on the days when the analytics show zero activity.
What Happens After $1,000
Hitting your first $1,000 is a validation event, not a finish line. It proves that someone who does not know you is willing to pay money for what you are selling — which is the only piece of information that matters when deciding whether to invest more time, more money, and more energy into building the business.
After your first $1,000, the priorities shift. You have data about which products sell and which do not. You have data about which traffic source generated your best customers. You have an email list you can market to. You have reviews that make the next customers more likely to convert.
Scale what worked. Double the content that drove traffic. Request indexing for your blog posts in Google Search Console. Build out the automated email flows — welcome series, abandoned cart, post-purchase — that turn one-time buyers into repeat customers.
The first $1,000 is hard because you are doing everything for the first time with no data to guide your decisions. The path from $1,000 to $10,000 per month is faster because you are scaling what you already know works — and that is a fundamentally different and more enjoyable problem to solve.
Need help setting up your Shopify store for maximum conversion from day one, or want an expert to review your current store and identify what is holding back your first sales? Get in touch with EcomFixify — we specialize in Shopify development and ecommerce growth strategy for brands at every stage.